Newsletter
With the newsletter functionality, you enable your visitors to subscribe to email notifications and news. This way, you can further engage them and be even more helpful to them.
Creating a newsletter
In the main menu of your site, click on the "Newsletter" button. A screen will open where you can create a new newsletter, new issues (email) and see all your subscribers.
Press the plus sign button and you will see the following screen:
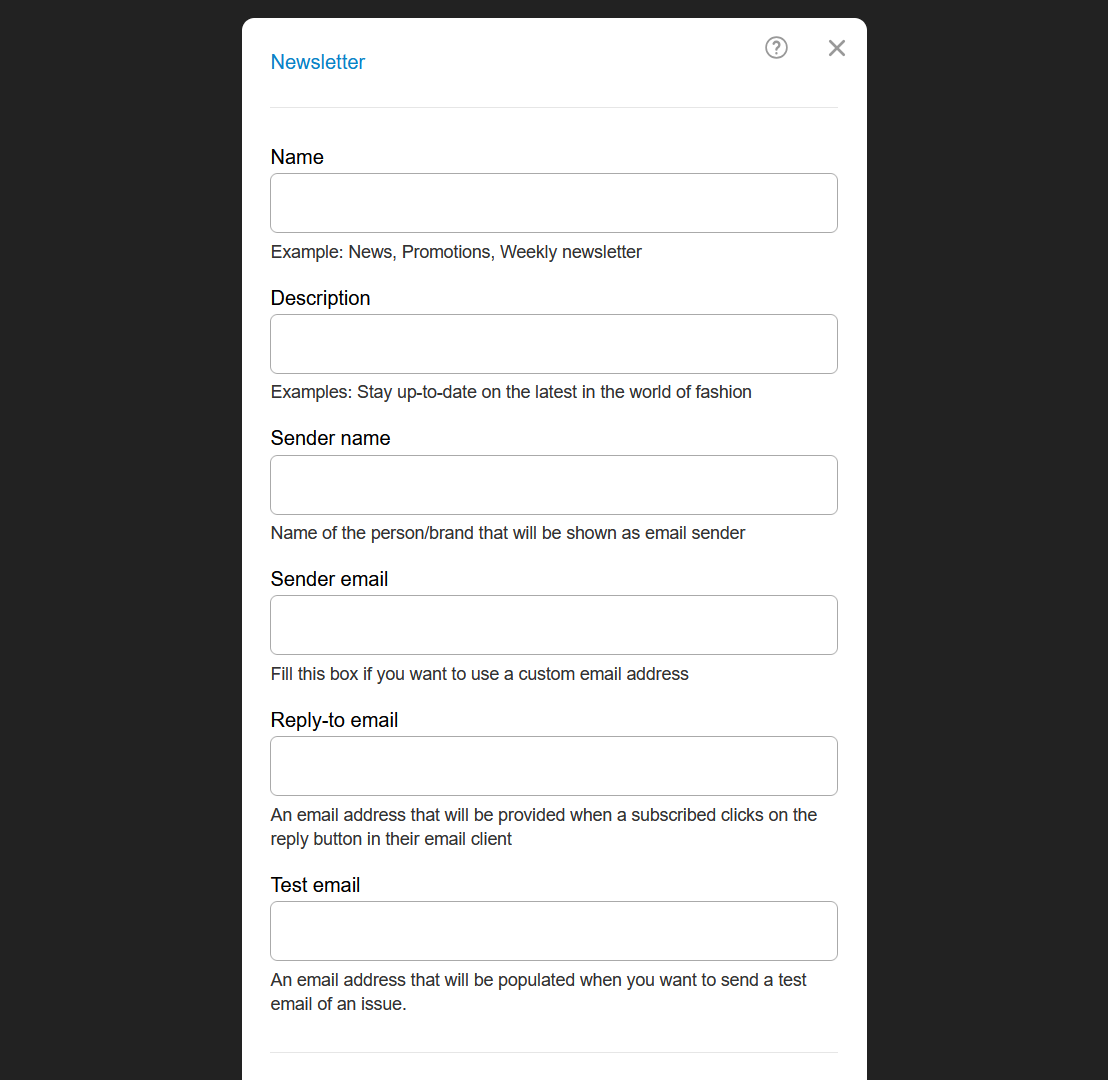
It contains all the newsletter settings. Let's look at them.
Name
This is the name of the newsletter. It is visible to visitors in the emails you send them and in other places where they need to identify the relevant newsletter.
Description
With this short description, you let your visitors know what emails they can expect in the future.
Sender name
This is the name that will appear in emails sent to your subscribers. We recommend putting a brand name, your site name, or your name.
Sender email
This is the email address from which the emails will be sent. If you leave this field blank, a system email address will be used. We recommend using your own email address, but it should allow sending the appropriate number of emails per hour or day.
Email server
Name of the SMTP server where your email address resides. Examples: smtp-mail.outlook.com, smtp.gmail.com, etc. If you are not sure, ask your email hosting provider.
Username
The username that identifies the email address is most often of the type "username" or "username@example.com". If you are not sure, ask your email hosting provider.
Password
This is the password to access the email address. If you are not sure, ask your email hosting provider.
Reply-to email
Subscribers who have received emails from you when they click "Reply" in their email client will be directed to this email address.
Test email
This is the email address that will be used by default when you want to test sending a new issue. You can specify another in the send screen.
Add to the website
When you've created your newsletter, visit the page where you want it to appear and create a new "Newsletter subscription form" element.
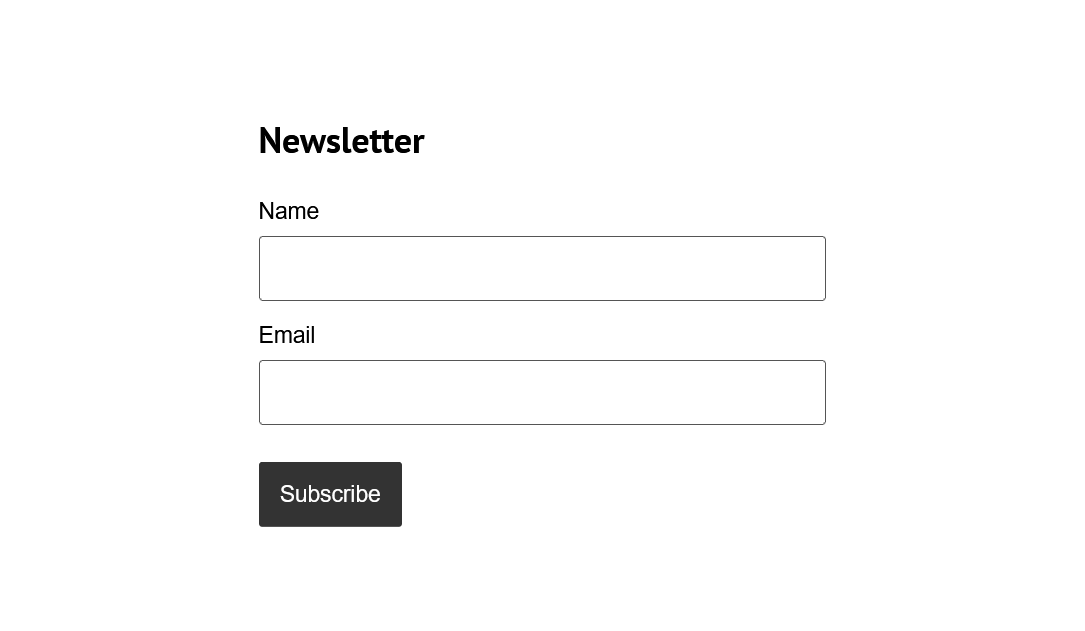
Done! Your visitors can now subscribe.
When a visitor fills out this form, they will receive an email with a confirmation link.
Sending a new issues
When you decide to send an email to your newsletter subscribers, visit the main menu and click the "Newsletter" button. Press the new issue button. You will see the following fields.
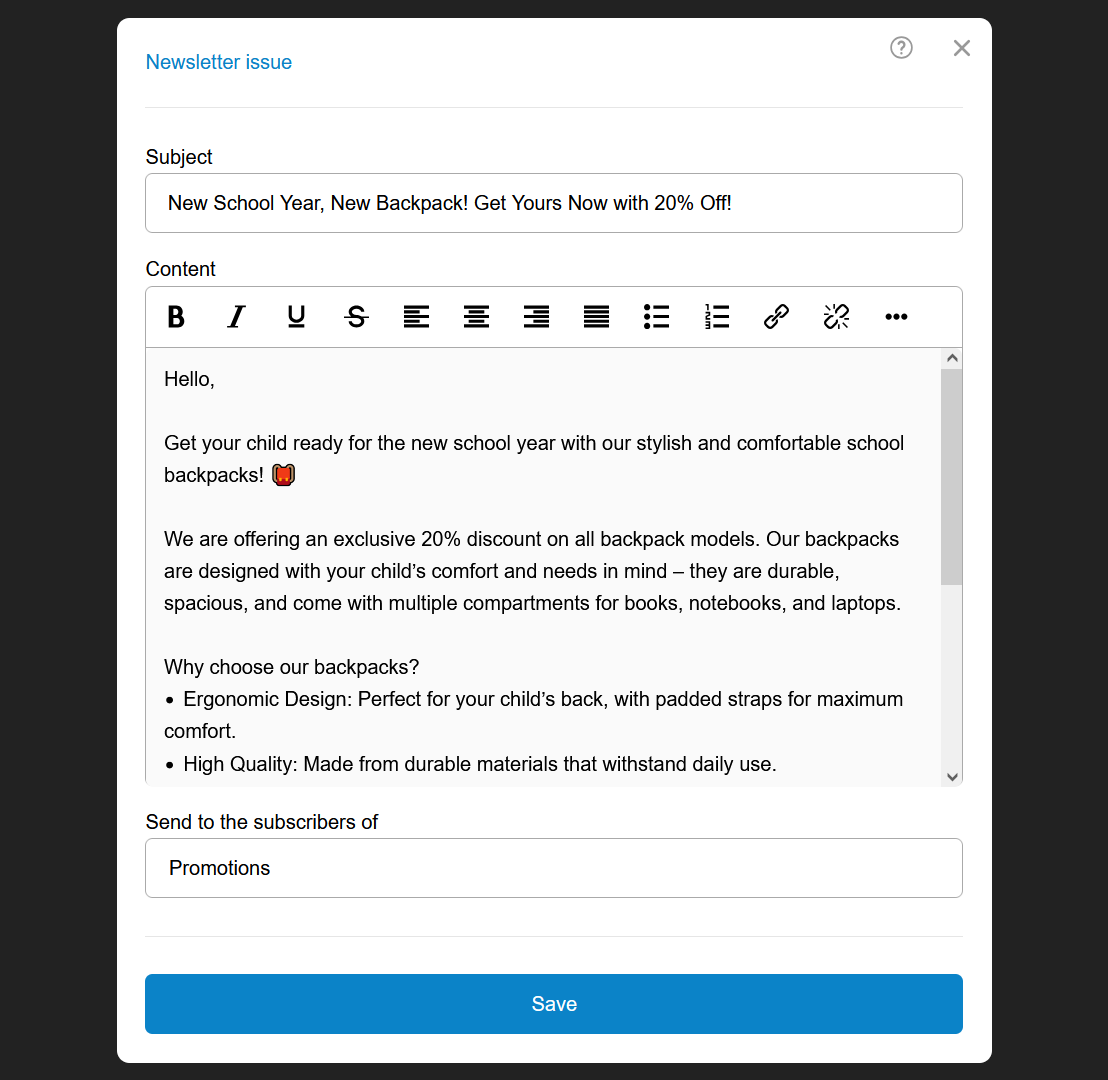
Subject
This is the text that will be seen as the subject of the received email.
Content
This is the content of the email itself. In the bottom, the name of the newsletter and an option to unsubscribe will be automatically added.
Send to the subscribers of
Select the name of the newsletter to whose subscribers you want to send this issue.
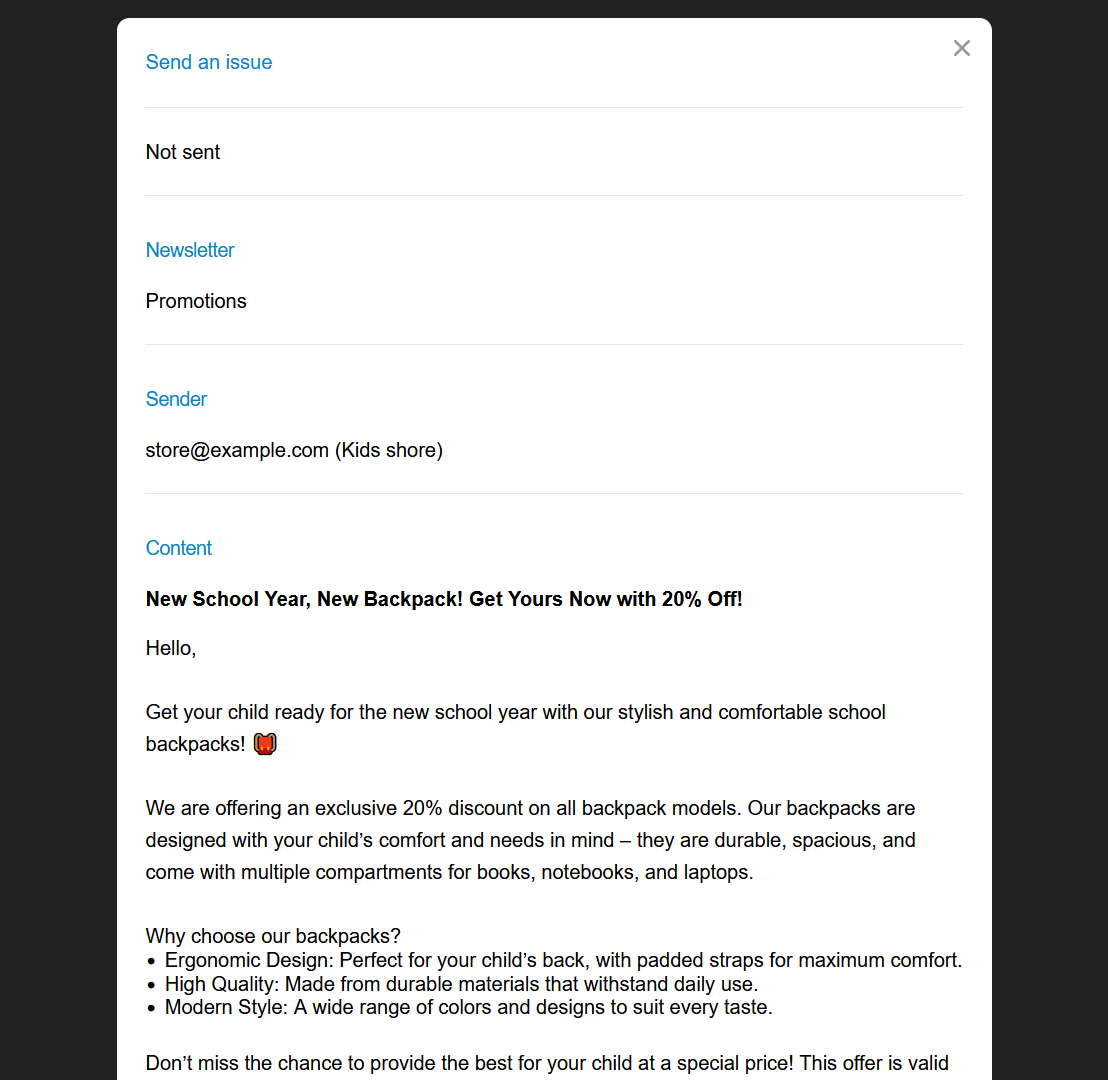
When you have filled them in, press the "Save" button and a screen will open where you can make a final review and send the emails.