BEAR CMS

Blog

Bear CMS's blog is the place to learn about what's new about the platform. Here we announce new features and publish useful information about your websites.
Bear CMS in 2025
Bear CMS's blog
As we step into 2026, it’s the perfect time to look back and reflect on what made 2025 an exciting year for BearCMS. Over the past year, we’ve introduced a range of new features and improvements designed to give you more flexibility, better control, and a smoother editing experience. Here’s a recap of what’s new.

We’ve added tags support, allowing you to organize and customize your designs even more efficiently.

A brand-new Recycle bin for elements is now available. This gives you peace of mind when reorganizing your content, knowing that deleted elements can be recovered if needed.

We also launched Elements navigator, an alternate view that helps you quickly find, browse, and manage elements across your pages.

You can now archive elements, which is perfect when you want to remove an element without permanently deleting it. This is especially useful when moving elements between pages or saving them for future use.

The Shared content element is a real game changer. It lets you create content once, add elements inside it, and reuse it in multiple places - keeping everything perfectly in sync.

We introduced a new theme called Canvas, ideal for starting a website with a highly custom design from scratch.

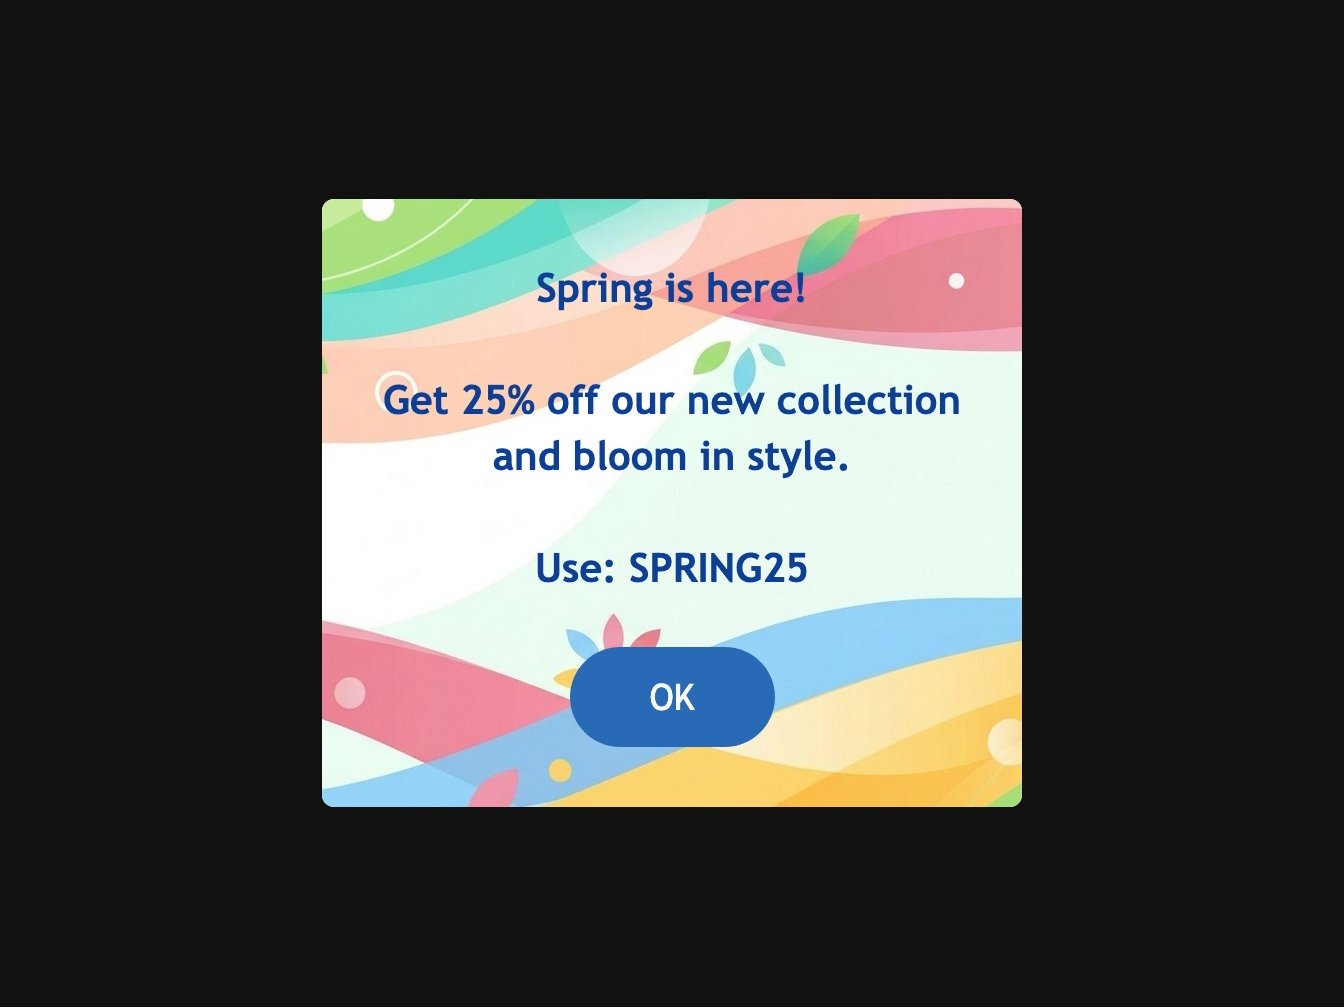
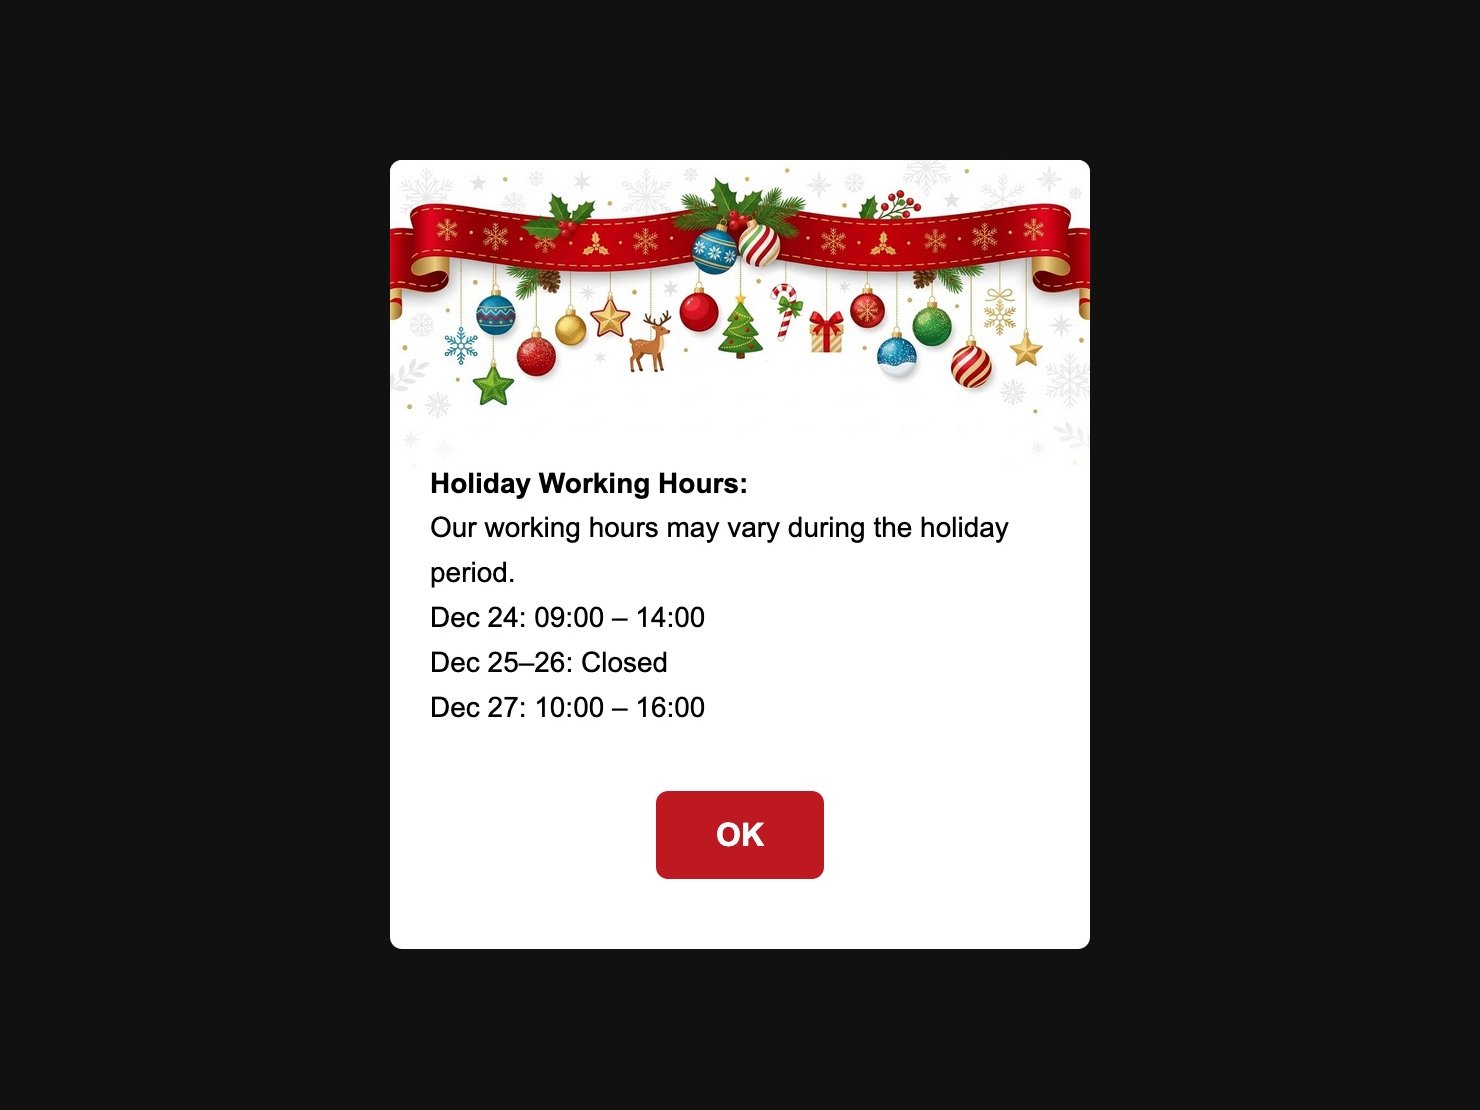
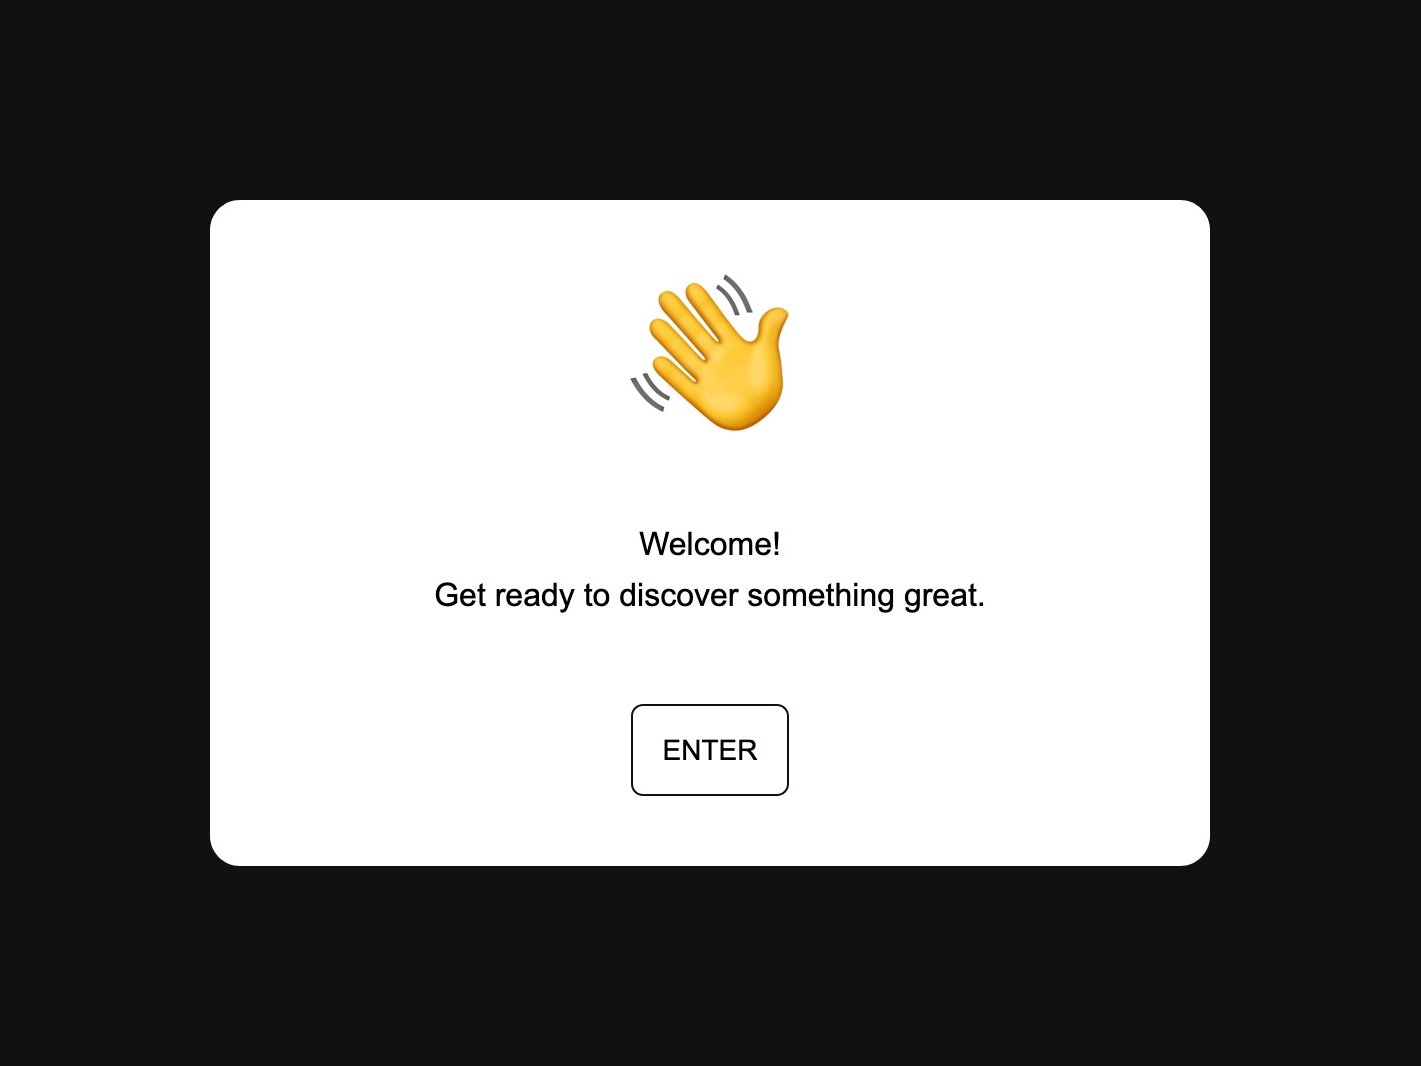
Modal windows are another powerful addition. They allow you to display extra information in a clean overlay without navigating away from the current page.

There’s now a built-in image editor with basic but practical features. If you’ve uploaded an image with the wrong orientation, you can easily fix it directly in BearCMS.

Customizing the 404 page content is now possible, giving you more control over the user experience when pages aren’t found.

In addition to images, you can now easily create gradient backgrounds for elements.

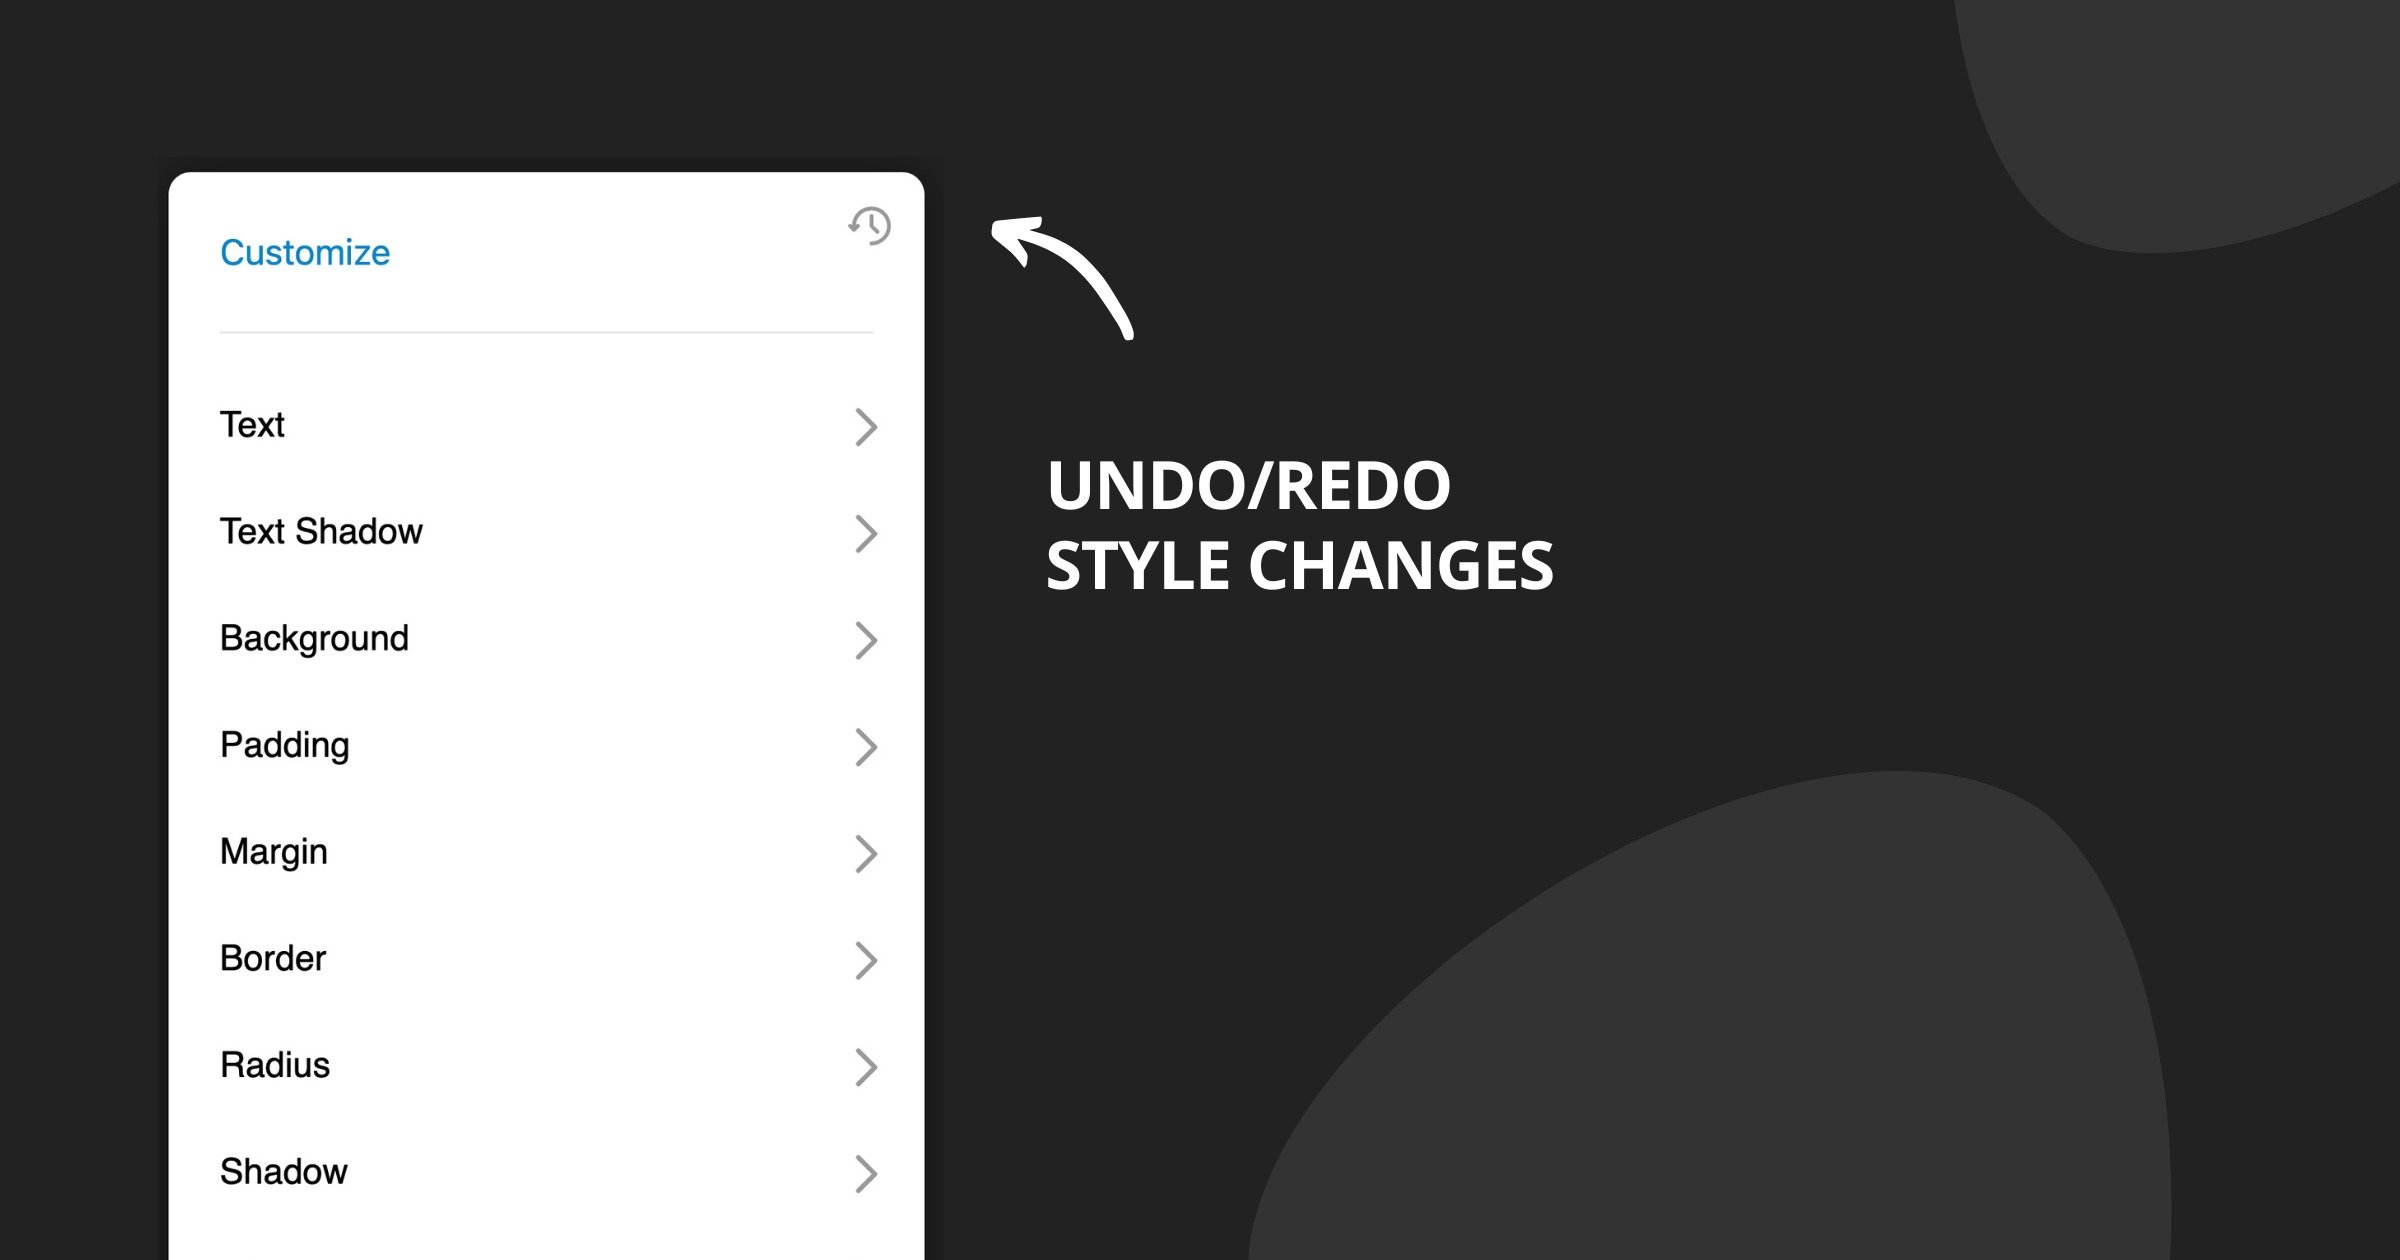
The theme and style editor has become easier to use, and it now includes undo and redo support, making experimentation safer and faster.

We’ve also made creating links for calling, email, and chat much simpler and more intuitive.

Thank you for being part of the BearCMS community. Your feedback and support continue to shape the platform, and we’re excited about what’s ahead.

We wish you all the best in 2026 - and stay tuned for even more improvements!
Links for calling, email and chat
Bear CMS's blog
We assume you know that, in addition to links to pages on your site, you can also create links to external services and applications. This is now much easier because you no longer need to write them in the exact format they require. It's enough to simply enter an email address, phone number, or username, and the platform will take care of making the link do exactly what it's supposed to.

Here’s what happens when a user clicks a link created in the new way:
  • Email address – the email program opens
  • Phone number – the number is automatically filled into the phone's dialer
  • Viber – the specified Viber profile opens
  • Messenger – the specified Messenger profile opens

Wherever on your site an address can be placed, you'll now see the new options and instructions for each of them.
Undo/Redo style changes
Bear CMS's blog
When making changes to the theme or the style of an element, you may have found yourself in a situation where you want to go back in time and restore a previous value of a given option. You now have this ability.

From the main list of options, you can access the undo and redo buttons. With their help, you can navigate through the changes you’ve made.

We hope that with this small improvement, working with Bear CMS will become even easier and more enjoyable for you.
New: Adding background gradients
Bear CMS's blog
In many places within the theme settings or the individual style settings of elements, you can add background images. Starting today, you can also add gradients between two or more colors. This allows your designs to become even more visually appealing.

Here are a few examples:
The gradient can include 2, 3, 4, or 5 colors and can be rotated and directed in any direction. You decide exactly where each color begins.

The main rule when adding background images or gradients is that they are layered on top of one another. That means the image/gradient that is at the top of the list will appear above all the others.

Expect another improvement very soon.
New: Custom content for not found pages
Bear CMS's blog
Sometimes a user may open a page that does not exist. There can be many reasons for this. The page may have been deleted, renamed, or marked as "Private". It is also possible that the address was typed incorrectly.

On such pages, a message appears informing the user that the page is missing and redirects them to the homepage. Starting today, you can add your own content to this type of page, making them more attractive.

To add custom content, go to your site’s main settings and enable this option. Then visit a sample missing page (a link to one is available in the settings) and add elements in the usual way. We recommend adding a clear message that the page is missing and links to other pages that might be useful.

See you soon.
New: Image editor
Bear CMS's blog
You may have experienced adding an image to your website and seeing it appear rotated (because you rotated your phone while taking the picture). We've added an option to edit uploaded images, specifically for such cases. With just a few clicks, you can correct the image.

In addition, we’ve also added the ability to crop part of an image. For example, if you have a group photo where the people are far away, you can crop everything around them to bring them closer/enlarge them.

When editing this way, the original photos/files are preserved. Only what the visitor sees is changed. This means you can later go back, remove the edits, or make new ones.

To open the image editor, click on the field with the respective image. Next to the options to replace or download the file, you will see the new "Customize" option.

Until next week, when we’ll surprise you with the next improvement.
New: Modal windows
Bear CMS's blog
The next improvement we are pleased to present is "modal windows." This term is used to describe content that appears on top of the page content. It is most commonly used to display additional information. It opens when a button is clicked. The page is dimmed, and the new content is shown on top. The user can close it and return to the main page.

We recommend using modal windows only when they are truly necessary. For everything else, you can use regular pages. Here are a few examples where modal windows are appropriate:
  • A newsletter subscription form.
  • Help information about a specific product feature.
  • Additional information about a term used in a text block.
  • Viewing a video, document, or other file.
We are already using them for image galleries and search.

To create a new modal window:
  1. Open the “Elements sets” menu (next to the button for creating a new element).
  2. Create a new modal window by specifying a name. The name is only visible to you.
  3. Click the three-dot button in the modal window list and select “Open window.”
  4. Add content in the usual way.
  5. Go to the place on your site where you want to add a link to the modal window. Create a Link, Text, Image, or Container element. In the link address field, select the modal window you created.

As you can see, it’s not difficult at all. We’d love for you to share in the comments where you’ve used this new functionality.
A new theme called Canvas
Bear CMS's blog
Today we added a new theme called Canvas. The new theme is essentially a white canvas, just like the ones used for painting. With it, we give you the freedom to build a website without guidance or restrictions. Every element can be unique, but you can also share styles and content across the site. In fact, the shared content functionality we recently added will help you create a header and footer - if your site needs them.

The Canvas theme is very suitable for:
  • Business card-type websites that only have a homepage
  • Landing pages aimed at specific actions (sales, newsletter signups, etc.)
  • Event websites that are primarily visual

You can achieve similar results with the Universal theme, but with Canvas, your site will be lighter and faster to load (within milliseconds, as the platform is optimized for speed). But perhaps the biggest difference will be in how it feels to use. With Canvas, you focus on what to add, whereas with Universal, you need to consider what happens to the other pages if you hide something.

All the themes we offer have strengths and weaknesses. It’s best to choose a theme while planning your website, but as you know, on Bear CMS, you can change the design at any time and keep your content.

Until next week, when we'll surprise you with another new feature.
New: Shared content
Bear CMS's blog
We are excited to introduce yet another new feature that will make working with Bear CMS even easier and will allow you to create even higher-quality websites.

Starting today, you can create custom blocks with elements that can be added in multiple places on your site. We call this feature "Shared Content". Every time you change the content of a block, that change will be visible everywhere the block is used.

Here are a few examples of how you can use shared content:
  • You create a block with contact information, including a contact form, a map, and text information. You add this block to the Contact page and to special pages you create when running an advertising campaign.
  • You create a block with information about a current promotion. You add this block to the homepage, the Products page, and the pages of each product category.
  • You create two different blocks for the footer of your website - one for promotional pages and another for all other pages. You can do the same for the header.

Perhaps you already have other ideas for where you can use this new feature. We would love for you to share them with us in the comments below this article.

You can create your first shared content block from the "Elemens sets" menu (next to the button for creating new elements).
New: Elements archive
Bear CMS's blog
Today we're introducing another improvement related to content management on your website.

You can now archive elements that you don't currently need. In the toolbar of each element, you'll see a new button that allows you to send the selected element to the archive. You can view the archive using the new "Elements sets" button located next to the button for creating new items.

The archive is also useful when you want to move elements between different pages.

Stay tuned for more improvements in the coming weeks.